Setting Up C2W Inventory Management Software
Follow these steps to download, install, and set up your account. Or you can watch it here: Your Step-by-Step Setup Guide | Getting Started with C2W Inventory
Step 1: Download the Software
- From your browser, go to www.c2wtechnology.com.
- Enter your email address in the subscription box and click continue.
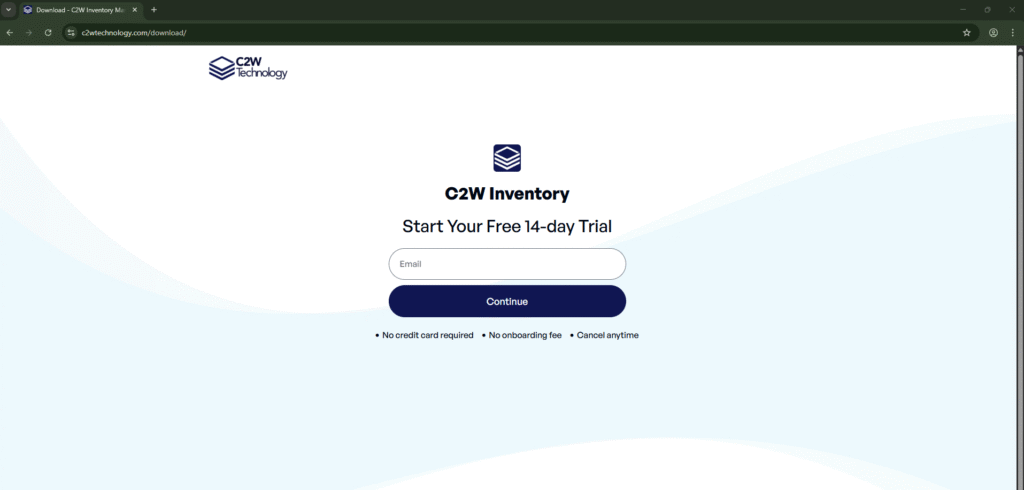
- You’ll be redirected to a page asking for your preferred installation method:
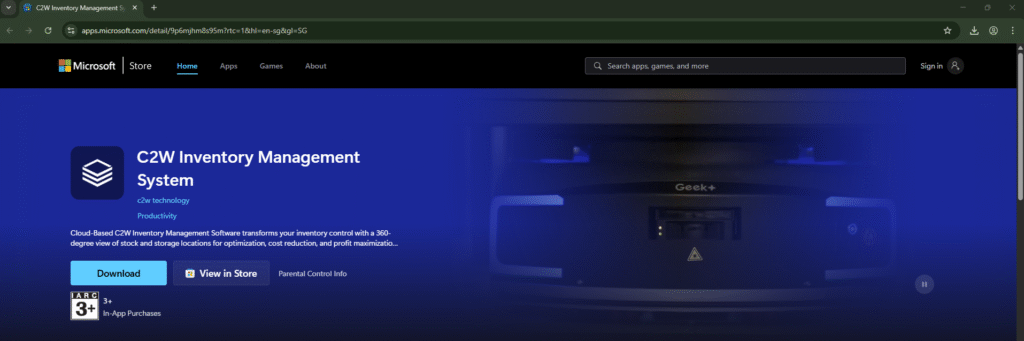
- Windows Store
- Direct Download Link
- Choose your preferred option and begin the download.
If you choose Windows Store: You’ll be redirected to the Windows Store page to download the app.
If you choose Direct Download Link: You’ll be redirected to a step-by-step guide page with instructions.
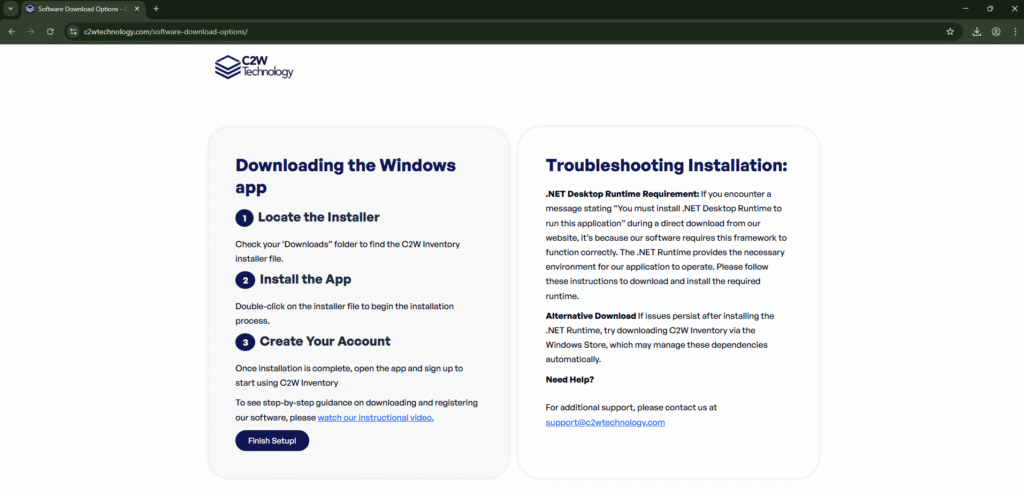
Step 2: Install the Software
- From your Downloads folder, double-click the C2W Inventory installation file.
Follow the on-screen instructions to complete the installation.
Step 3: Create Your Account
- After installation, the Login page will open.
- Click Use Cloud Database to select cloud storage.
- Click Sign Up and fill in all required fields in the signup form.
- Enter your Company Name, First and Last Name, Phone Number, Email Address, Contact Details and Password in the fields provided.
- Click Create Account to finish setting up.
- You’ll get a 14-day free trial. After this, you’ll receive a reminder to subscribe.
- If you don’t subscribe, your account will automatically switch to the free version.
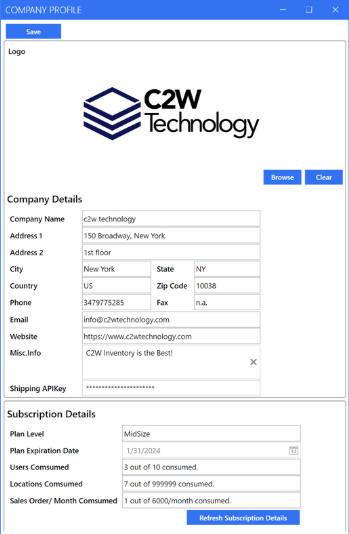
Step 4: Personalize Your Company Information
It’s important to add your company details so invoices, receipts, and reports look professional.
- From Settings tab, click Company Profile.
- Click Browse to upload your company logo.
- Enter your Company Name, Address, and Contact Details.
- (Optional) To use shipping labels, sign up for a free EasyPost account.
- Get your EasyPost API key and paste it in the designated field.
- This lets you access real-time shipping rates from EasyPost carriers.
- Under Subscription Details, you can view your plan, trial period, number of users, locations, and sales orders.
- Subscription details update every 6 hours. Click Refresh Subscription Details to sync manually.
- Click Save to confirm changes.